Wednesday, July 31, 2013

I'm Going to Sew Every Day for a Week

Sewing Groove - I am Giving Myself a Sewing Challenge!

I have so (sew) many things I want/need to sew and I have really been slacking, so it is time to set a good goal.  I am going to sew every day for a week for at least one hour (most days it will be more like 3 or 4 hours).  I started Tuesday night and will post pictures when it is daylight on Wednesday.  I finished 2 baby bibs I had started (girl Colors), made 3 more bibs (boy colors) and a jumbo receiving blanket.  I have so much more that I want to do and I can't get it done in a week, but a week will put and good dent in my list.  I am sure I will stray from the list somewhat since pinterest is giving me new ideas daily, but I will sew something every day whether it actually comes from this list or not... 

Are you ready for the scary list?  Here we go!

1.  Catch up on the Lucky Stars Block of the Month from Don't Call Me Betsy.  I am ashamed to say that I only finished the practice block and the January block.  I started February and haven't picked it up since.  I won't get completely caught up in a week, but I need to get a few of them done!

2.  I need to make something for my 2 kitchen windows.  I am trying to get a stain out of an old tablecloth my great grandmother embroidered so I can make it into 2 window toppers.  If I can't get it out I will whip something up from my regular fabric stash.

3.  Make a new lunch tote using the pink penguin tutorial altered to the bigger size that I made twice before.  I love this pattern and it is free on Ayumi's site!

4.  Purse

5.  Tote Bag

6.  A long lanyard for my keys because I keep misplacing them.

School starts in a few weeks and I would like to have #3, 4, 5, and 6 done by then.

7.  I need to make at least 6 crayon rolls to replenish the stash at church.  Done - I made 12!

8.  I have a Halloween quilt top that has been sitting lonely for about a year.  It is not going to baste, quilt and bind itself.

9.  I have a quilt top that I started in June for my 18 year old nephew who will be going off to college soon.  I ditched the quilt plan and gave him something else.  I thought the fabrics were a good choice when I bought them but I just wasn't feeling it when I started putting it together.  It is tough to pick out fabrics for an 18 yr. old boy.  I gave him a stash of money and some other things for graduation instead.  I will finish the quilt and gift it to a different male in the family for Christmas of donate it to a quilt drive.  It is the first quilt top that I have made that I felt didn't match the recipient.  Did that ever happen to any of you?

10.  A gift for a fellow blogger that I have been wanting to do something nice for...

11.  Finish some noodlehead gathered clutches.  I have had 4 cut out and started for months, but they have just been laying in my sewing room.  I am not sure why because they aren't hard and look awesome when they are done.  I finished 1 so far.

12.  Make a bib tutorial.

I know I will finish at least a few of these things if I sew every day for a week.  I am also sure that I will get off track from this list and make at least one thing not mentioned here!  I made a baby gift consisting of 3 bibs and a jumbo receiving blanket.  I also finished 2 other bibs that I had started and I added them to my gift stash.

WISH ME LUCK!!!

Thursday, July 11, 2013

Girl Bibs

A new group of girl edition bibs with ties.  I made some for my brother's brother-in-law and sister-in-law and every time I saw them the bibs were in use.  I don't know about the rest of you crafters but it makes my day when I see people really using and loving the items that I spent time  made for them.  2 years and another baby girl later, I felt it was time to gift them with a few more bibs, so I made them a set of 6.  There are some close-ups below.


Friday, July 5, 2013

Custom Size Dish Mat

I made a second dish mat from bath towel because I loved the first one so much.  This will let me use one while the other is being washed.  Love them!
Here is the one from last week:
It is such a fun and easy project! 
1.  Cut the fabric and towel to one inch wider and longer than the area you want to cover.
2.  Lay the right sides together and sew with a half inch seam allowance.  Leave a couple of inches open on one side for turning.
3.  Press - ironing makes all the difference for a nice finished project.
4.  Top stich around the edge.  Make sure you catch the whole you used for turning to close it securely.
5.  Iron again.
6.  Sit back and enjoy the simple beauty of this 5 minute project.  Others will ooh and ah and think you are a genius.  I can't speak for you, but I am NOT a genius.
7.  Maybe even go and wash some dishes!
 
Note:  I think it might be easier to cut the fabric to the size you want and attach it to the complete towel and then trim the excess towel off after step 2.  This will allow for slight shifting as you are working with 2 completely different materials and textures.

Thursday, July 4, 2013

Another Baby Gift Set

This is another gift set that I made for a coworker who is expecting a girl.
 
It looks very similar to the first set I made because I used many of the same fabrics.  The item with the pink terry towel backing is a burp cloth that is about the size of a hand towel.  The item with the yellow flannel backing is a 40 by 40 inch receiving blanket.  The flower print is also flannel.
Both sets are pictured together below...
I think they were well received.

Friday, June 28, 2013

Bibs for Boys

I made a few bibs for my nephew who is almost 2 and drools quite a bit as he is teething.  We headed to Disney a few weeks ago and I thought these would be good for the trip.  They are made with quilting fabric on the front and absorbent bath towel on the back.  The tie is a 2.5 inch strip cut from yardage. 
 
These bibs take a little longer to make than Velcro but they are great for older kids because they tie and can't be ripped off as easily as Velcro.  I am thinking that I need to come up with a tutorial to share.  I really enjoy making them.

Dish Mat from Bath Towel


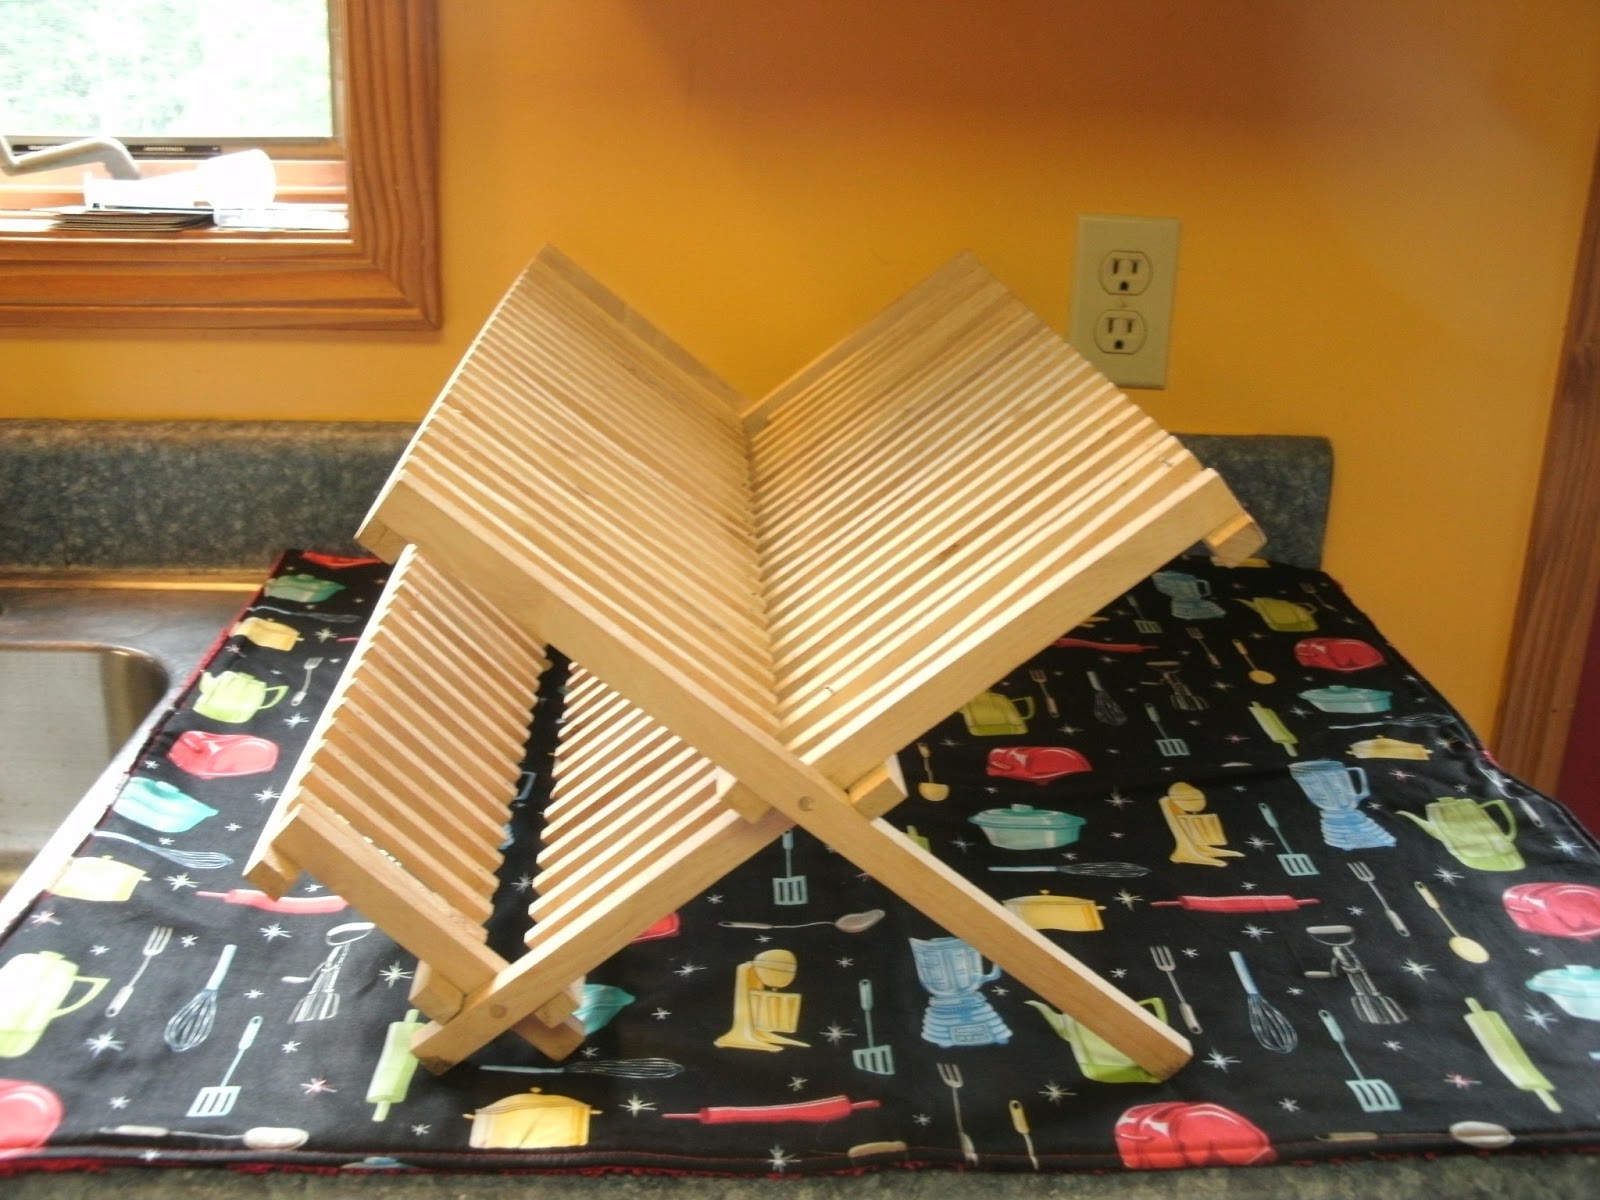
My dish drainer usually sits on 2 overlapping kitchen towels (see below) and it really bothers the OCD side of me. 
As you can see above, the two towels are different prints and sizes and it just looks yucko!  I measured the area I wanted to cover and added and inch to the length and an inch to the width.  Next you need to put the print side of the cotton facing the towel and sew around with a generous half inch seam allowance.  Don't forget to leave an open space for turning the project right side out.  Once it is turned right side out iron like crazy and top stitch the whole way around making sure you catch the opening that you left for turning.  Press again and enjoy having a mat that is custom fit to your dish drainer area!  I had enough of the bath towel left to make 2 bibs, so this was a really low cost project.  The towel was $3.50 from walmart and the cute kitchen fabric is also from walmart.  I don't remember the price because I had it in my stash, but I doubt is was more than 5 or 6 dollars a yard.


Thursday, June 20, 2013

Baby Gift Set

This is a baby gift set that I made for a coworker who is expecting a girl.  The burp cloth is about the size of a hand towel and has a hot pink towel backing.  The blanket is jumbo receiving blanket measuring in at 40 inches square.  The front and the back are both flannel.  The bibs are either cotton or flannel on the front and towel or fleece on the back.  The ties are 2.5 inches by the width of fabric and are made in the style of double fold bias tape.  It was a fun set to make and I think the recipient liked it.